You will earn 0.5 $ after click on and and visit this pages
Amount will be transfer into timebusks account after 5 hours
At the moment is now Google has begun to display websites that do not have an SSL Certificate as Not Secure If you haven’t yet installed an SSL Certificate on your website due to the fact that SSL Certificate is expensive or you don’t know how to install it don’t worry This post is intended just for you.
it is possible to install the free SSL Certificate on any of your websites for free and without spending one cent.
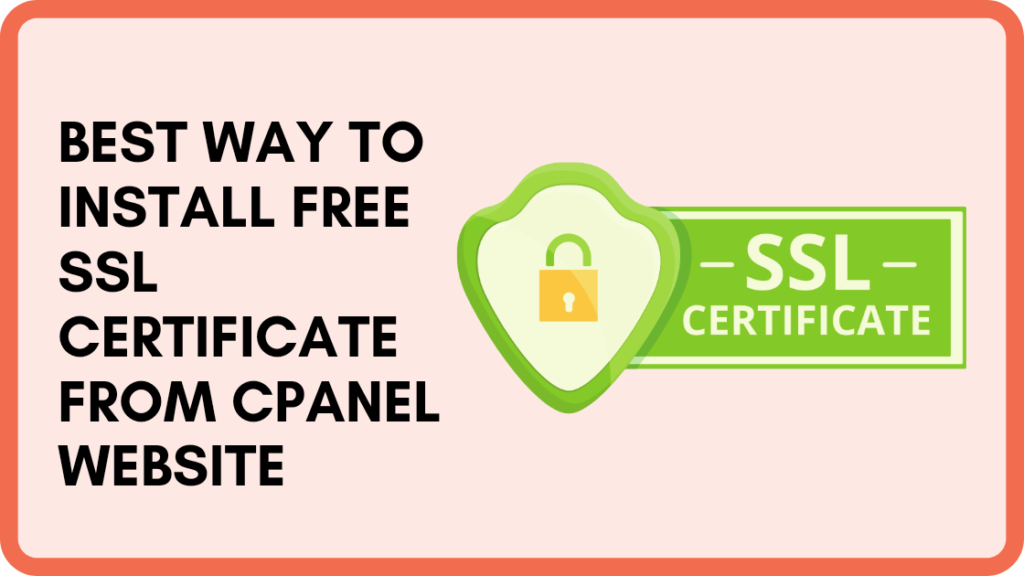
How to Install SSL Certificate
Today every person is creating their own website, of which many people create their blogs on Blogger and others are launching their blogs using WordPress to take advantage of additional features.
In this case, many who build their websites using WordPress are searching for good and inexpensive hosting.
Which hosting service can they find an affordable SSL certificate, despite the fact that Google provides the option to install an uncost SSL through Blogger however, if WordPress users buy SSL from any provider the internet, a minimum of 700 rupees is required for the duration of an entire year.
If Cloudflare provides the free SSL which can be added on their website and the Server Response Time will increase and websites start to load slow. But how can you fix it in order to obtain it for no cost?
There is no alternative since Google has also declared SSL as an SEO fact when you are trying to get your website to rank, it’s crucial to put SSL on the site.
Today we will show you how you can install an SSL certificate on your Self Hosted websites absolutely free of cost without spending one cent.
For you to apply for an SSL Certificate on a website or blog, you will need Domain as well as Web Hosting. If without them, your blog or website will be not complete.
If you own a Domain and hosting, you can install a free SSL Certificate on your website.
How to Create an SSL Certificate for a Website or Blog?
1. To create a Free SSL, visit sslforfree.com.
Step 2: Verify your domain.
You must now verify your domain. In you can confirm your domain with any of the three options presented below. We are going to explain how to verify your domain using the third option, Manual Verification (DNS) in the event that you want to.
If you’re interested in knowing how to confirm the domain using both choices, let me know by leaving a comment below.
Then, you must select manual Verification (DNS) After you need to select the option to manually verify the domain.
When you click on this, you’ll receive a TXT Record like in the below image, you need to include it in the DNS Zone within your Cpanel.
Similar to TXT Record on the picture above, you can find TXT Record on Sslforfree’s site You must connect it using Zone Record within your Cpanel.
You must now check by clicking on both options to Verify whether your domain is verified or not.
If both options are present, you’re ready to move on to the next stage, in case it’s not visible, then be patient for 15 to 20 mins.
After Domain Verify Click on the Download SSL Certificate, now your SSL Certificate is ready, you are now able to install it on your site.
Step 3. Now you’re ready to download your Let’sEncrypt SSL Certificate is ready to download.
When you click the Download all SSL Certificate Files, you can download Let’sEncrypt SSL Certificate for free, to make it easier, shut down this SSL Certificate page and open your Cpanel.
Step 4: Log in to Cpanel to set up Let’s Encrypt Free SSL Certificate.
Click on the Manage SSL Websites button.
Step 5: Install SSL Certificate in Cpanel.
Choose the domain for which you’d like to install the SSL Certificate.
Download the Private Key to SSLforfree.com and place it in the second box of Cpanel.
Download your CABUNDLE on SSLforfree.com and then put it inside the box in the middle of the Cpanel.
Click on the Install Certificate Click on Install SSL Certificate.
After the installation of the certificate, it can take anywhere from 5 to 30 minutes depending on the browser cache to allow SSL to show up on your site.
You have now installed the free Let’sEncrypt SSL Certificate on your website blog. The certification is for 90 days. after which time you need to renew the SSL Certificate, after that the validity of the SSL Certificate will increase for 90 days.
You are not able to renew your SSL Certificate for more than 90 days. That is you are able to renew it for only 90 days at the same interval of 90 days.
In this article, we’ve provided a guideline on how to make use of the Free SSL Certificate on our blog. If you encounter any issue with SSL Certificate, then definitely inform us via comments.